- Upload your photo of choice to any IMAGE HOST site eg. Photobucket, Flickr, Tinypic and etc. I will demonstrate using Photobucket.

- Under the large UPLOAD button, click OPTIONS. A window will pop-up, you may choose any size you intend to resize your photo to. Take note that smaller sized picture will not be enlarged even if you chose to pick the largest option possible. I choose 640px (width) x 480px (height), which I think is the perfect width for my blog. The only thing that matters most is the width.

- Once uploaded, for Photobucket, hover over the image and copy the item in DIRECT LINK textbox.

- From DASHBOARD > click New Post > click the ADD IMAGE button on the taskbar.

- Paste the url you got from the DIRECT LINK into URL textbox on the right side of the window. And hit UPLOAD IMAGE

- And voila!

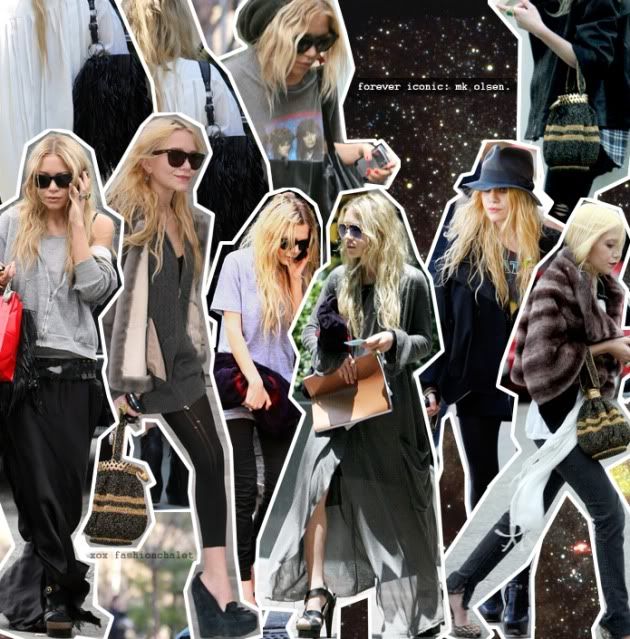
MK Olsen collage by Fashion Chalet at tfs.
Basically, you need to upload it somewhere else and re-'upload' the url on blogger. You can even upload the photos to your blog from photos that you've already uploaded on your Facebook! (does that make sense?)
To get the url of your Facebook photos just right-click and copy image URL:
And proceed the above procedure all over again.
If your blog is smaller than the photos, keep on resizing it till you see which can fit perfectly on your blog.
Hope that helps and good luck trying!
Hope that helps and good luck trying!


omg, thank you very much
ReplyDeletei have been seeking for this information for a long time
anyway, million thanks :)
Get it thanks dear..actually I do before but forgot ordy heheeh thank god finally I remember back..thanks dear tq for sharing ..so after this I will try and practise hiks I appreciate this xoxo
ReplyDeleteGet it thanks dear..actually I do before but forgot ordy heheeh thank god finally I remember back..thanks dear tq for sharing ..so after this I will try and practise hiks I appreciate this xoxo
ReplyDeletethank you.thank you..=)
ReplyDeleteThank you for sharing. Very detail. I like! =)
ReplyDelete;)
ReplyDeletesaya prnh ditutorial oleh cik ami dlu..tp layout blog saya x bleh image bsr..siot tol..
ReplyDeleteget it~!! hihi...thanks ami...will try it soon...lepas nie takyah upload gambar kat fb then again upload kat blog...hihihi ;)
ReplyDeleteami, kalau i salu pakai edit html je, terus edit size dia direct kat situ =) normally nak mencantikan horizontal n vertical pics, so width dia sama besar.. tp i kurang gemar vertical pics mmg akan elak amik gambar begitu.. except terpaksa, but for blogs mmg cantik gambar besar2 baru puas..
ReplyDelete